
=== Program Description ===
1. General
1.1. Legal Stuff & Contacting the Programmer
1.2. About & Features of AFX Image
2. Program components
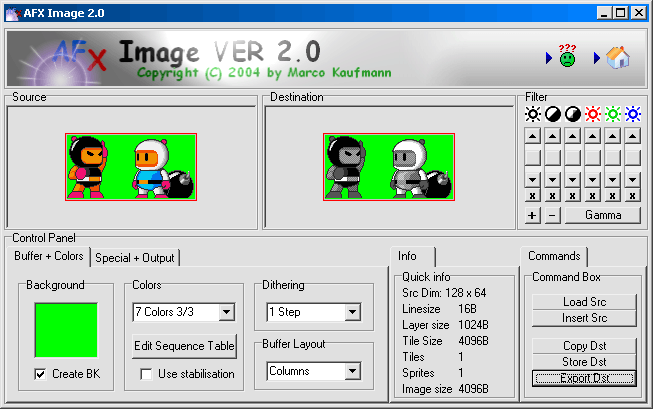
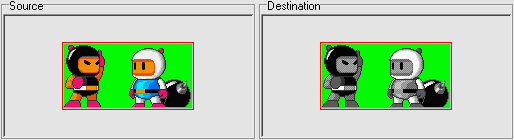
2.1. Command Box, Source and Destination window
2.2. Filter Box
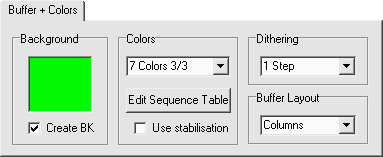
2.3. "Buffers + Colors" Sheet
2.3.1. Backgound
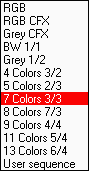
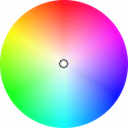
2.3.2. Color modes
2.3.3. Color stabilisation
2.3.4. Dithering
2.3.5. Buffer layout
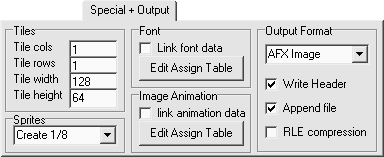
2.4. "Special + Output" Sheet
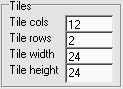
2.4.1. Tiles
2.4.2. Sprites
2.4.3. Output formats & options
3. Format overview
4. Tutorials
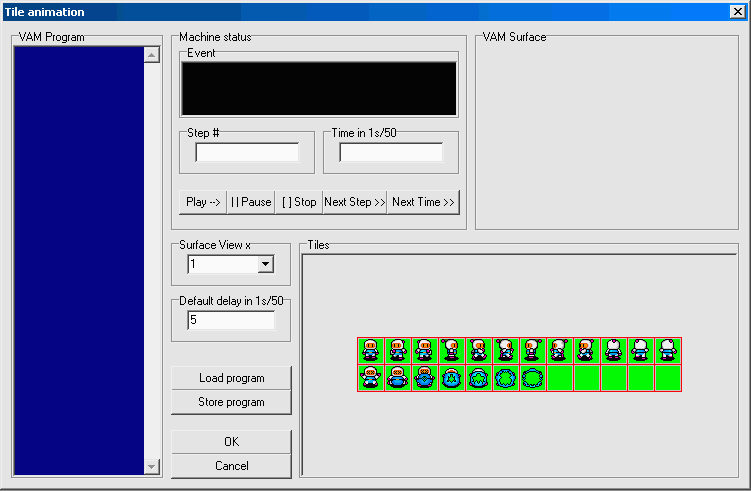
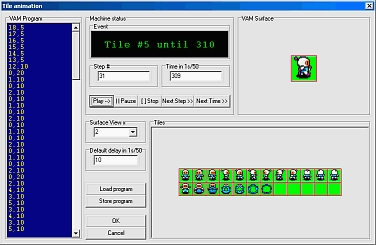
4.1. Animating images
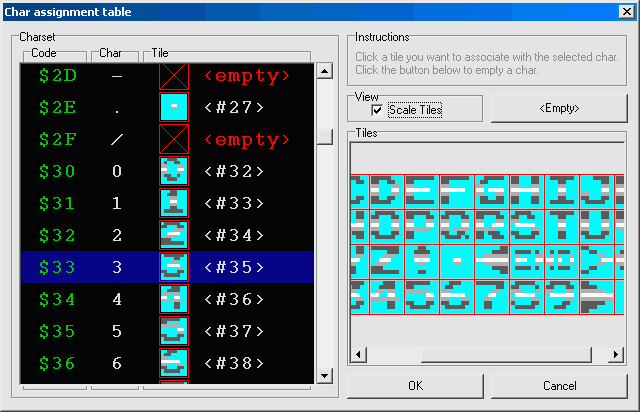
4.2. Creating Fonts
4.3. Generating CFX Images
4.4. Generating MLC Images
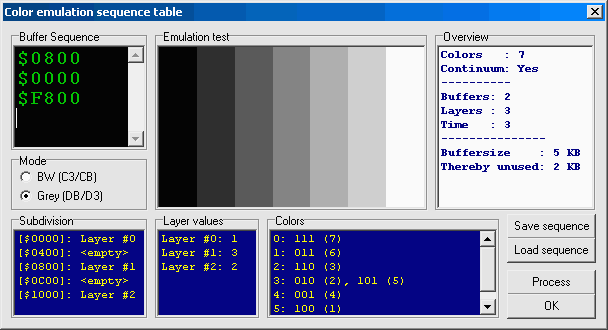
4.5. User defined emulation sequences
4.6. Gamma filter
5. Special Thanks
 |
|
 |
|
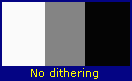
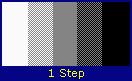
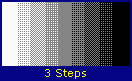
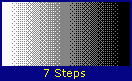
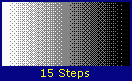
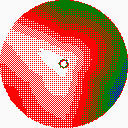
 | AFX Image uses dithering to adapt a destination pixel's color the best possible way to a source pixel in current color mode. Dithering is very usefull when you want a picture to look as "real" as possible as it simulates more color steps then actual available (though it has nothing to do with color emulation technics). Using too much steps however looks crappy and sometimes it's even better to do it without dithring at all (especially for small images). Dithering works with all color modes, even with user defined emulation sequences. Note, that CFX RGB mode supports 0, 1 and 3 steps only. |
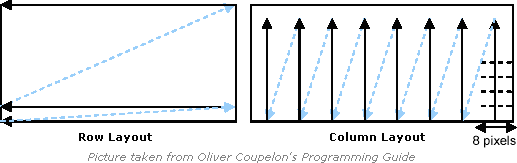
| There are two different ways how to arrange the bytes in an image buffer, called Row and Column buffer layout |
 | AFX Image supports generating lists of images called "tiles" from one single image. This is a very usefull feature as it's much easier to handle a list with 20 images than handling 20 images separated, and it's also easier to make one big bitmap file and load it into AFX Image than creating 20 small files and process them seperated. Furthermore, Font Creation and Image Animation are based upon tiles. |

| Nevertheless, scrolling works slower than moving data directly/byte aligned into a buffer. Therefore the second method is to prepare several shifted versions of an image (2,4 or 8) pre runtime already and choose one of these versions each time the image is to be drawn during runtime, depending on the required x position. This of course takes more memory than the first method, but it's suggested for games needing high performance or that use engines not supporting scrolling. Note: it's called "sprites" because it's usually used for moving things such as the hero of the game, enemies and so on. |
|
  |
|
| AFX Image/ Pascal/C/Assembler source | CAT/MLC | CAT/Picture | |
| Transparent color: | Yes | Yes | No |
| BW, Grey, 4 color mode: | Yes | Yes | No |
| DynaGFX color modes: | Yes | No | No |
| CFX RGB/Grey modes: | No | No | Yes |
| Buffer layout: | Rows/Columns | Rows | Columns |
| More than 1 tiles: | Yes (up to 255) | Yes | No |
| Tile size: | Any (up to 255x255) | 8x8 and 16x16 | 128x64 |
| Sprites | Yes | No | No |
| Font | Yes | No | No |
| Animation | Yes | No | No |
| RLE compression | Yes | No | No |
| |


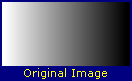
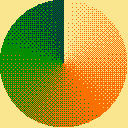
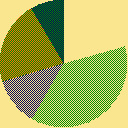
| Original | Grey CFX | RGB CFX |
    |     |   |
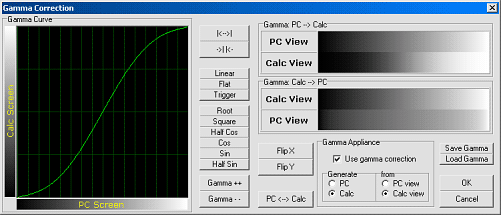
| Generate | from | means |
| Calc | PC view | normal appliance of the filter: source image is assumed to be a PC image, destination a calc image. AFX image will perform a PC scale to calc scale translation |
| PC | PC view | source is assumed to be a PC image, destination too. Thus, no gamma appliance. |
| PC | calc view | performs a calc scale to PC scale translation |